Hobby Page
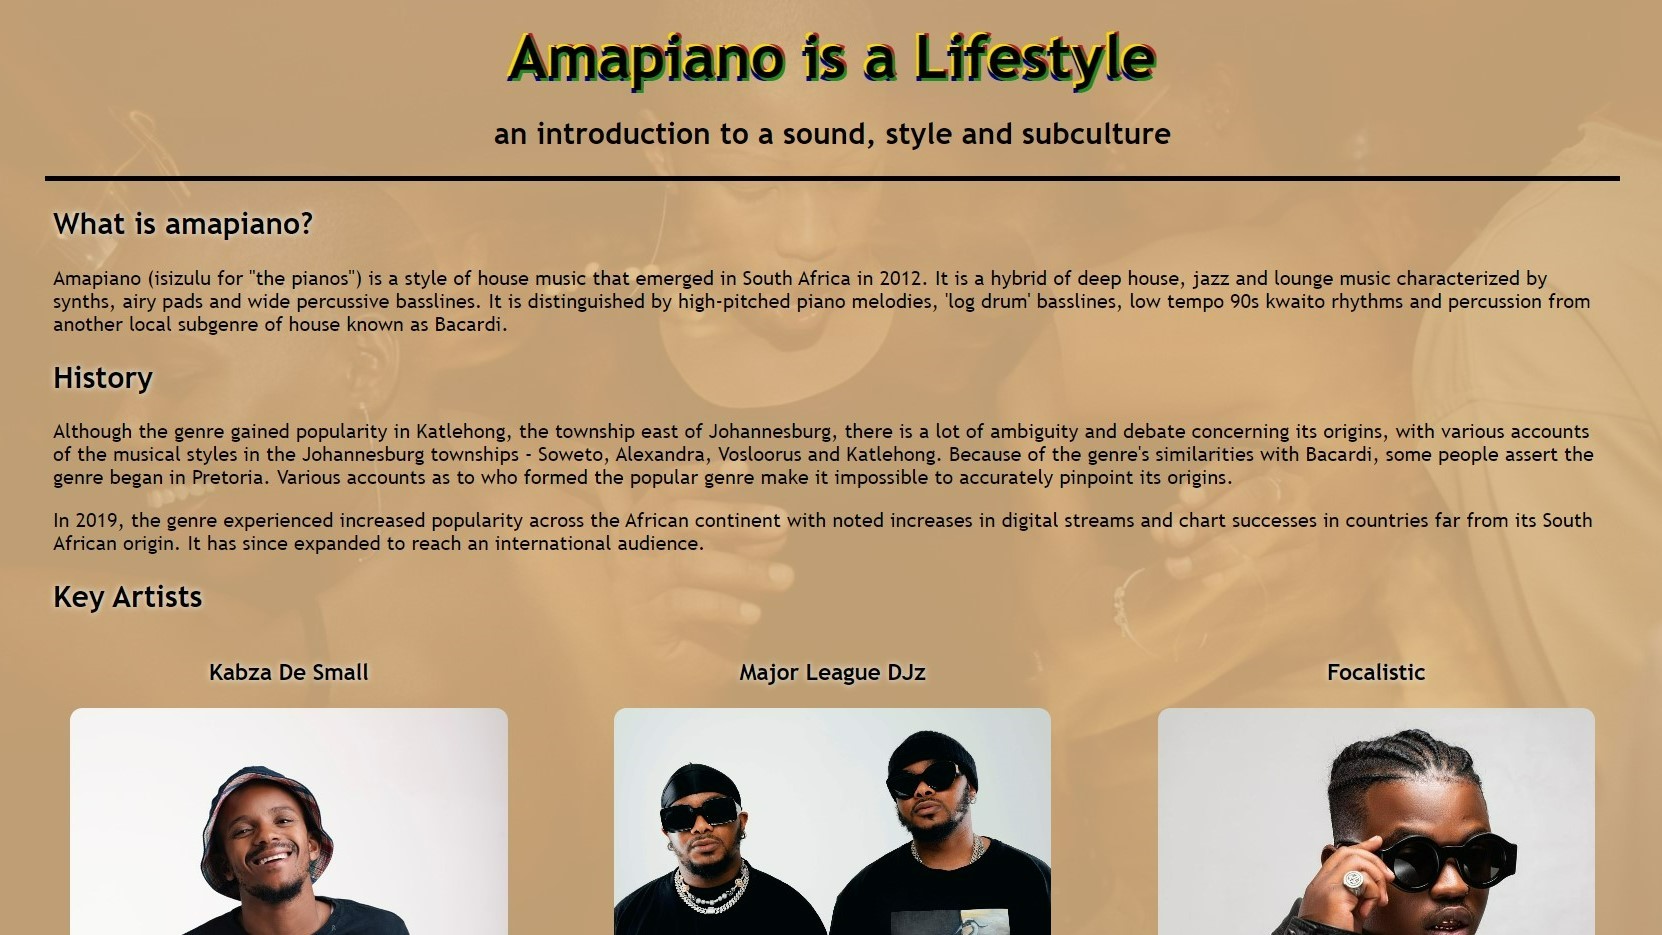
This was my first project and the first web page I have ever built. I based it on amapiano, a style of music which I love from South Africa. I wanted my page to express the personality of the genre through a modern, clean and uniform aesthetic which also included bursts of colour and warmth. To achieve this, I used:
- sans serif font
- natural brown semi-transparent background colour for the page's main body
- background image of an amapiano dancefloor
- colours of the South African flag as a text shadow for the title
- similarly posed press photos of key artists, including some brightly coloured outfits
Aside from the HTML and CSS basics needed to create the page, the most important learning that I did for this project was how to use CSS Flexbox. Flexbox allowed me to put the 'cards' for each artist into a flexible and aesthetically pleasing arrangement that would adjust to fit any screen size without content overflowing or being cut off. Finally, I used javascript and DOM manipulation to generate and display the day's date in the footer.
Project Gallery
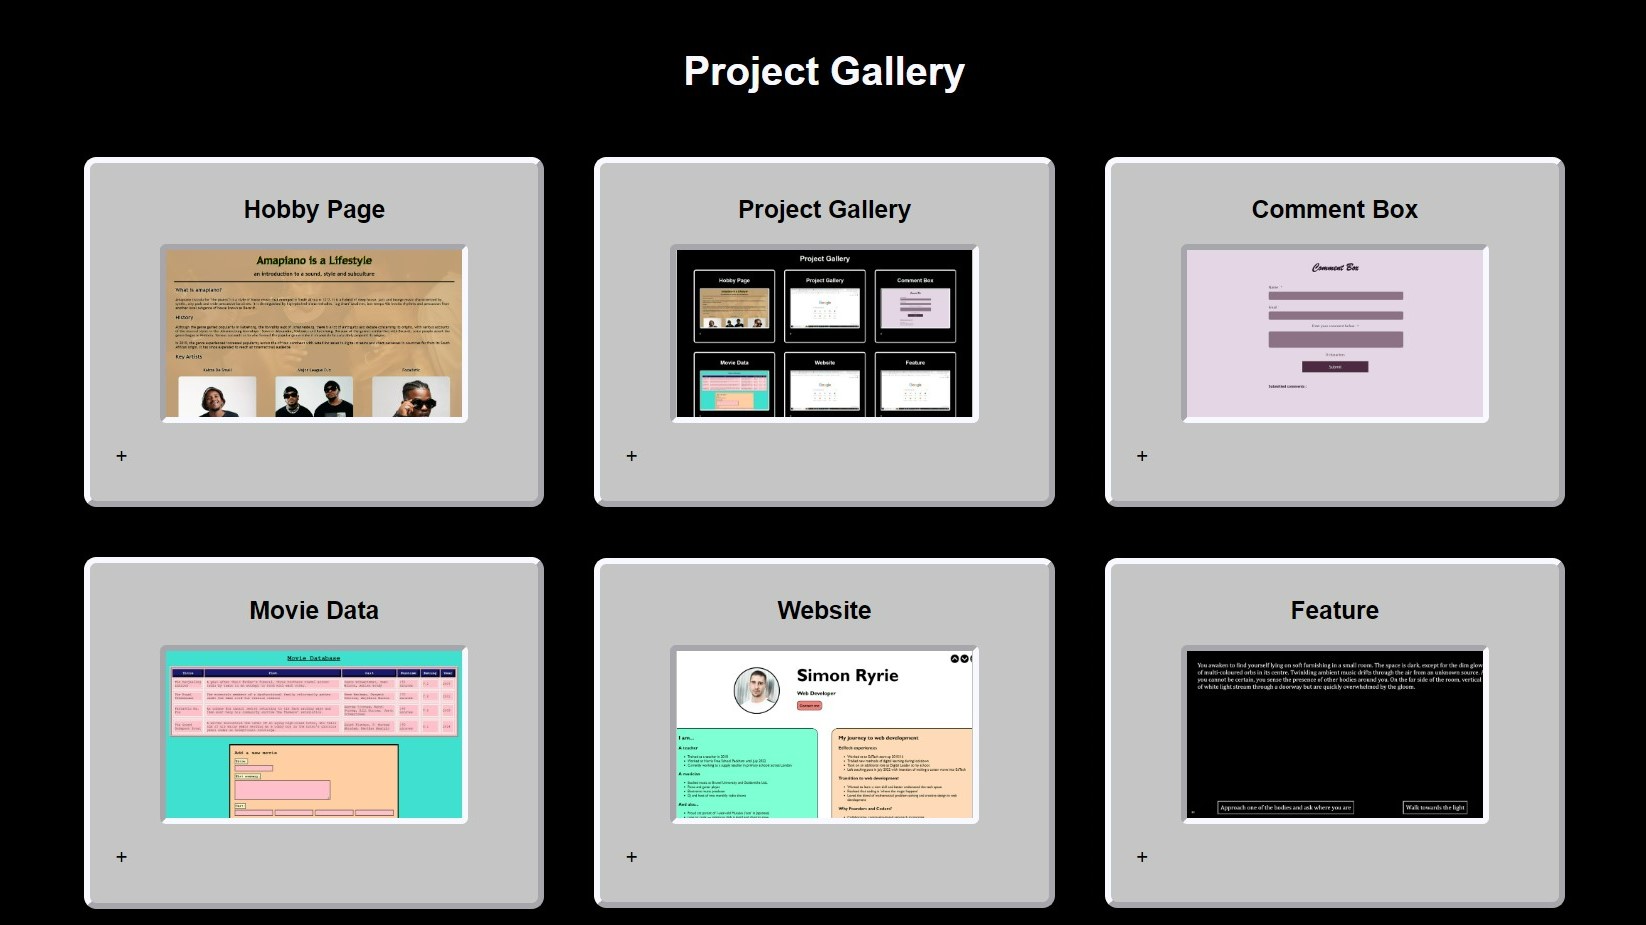
I completed this project gallery after my Comment Box and Movie Data pages as I was keen to learn more about JavaScript and had used Flexbox in my Hobby Page already. To deepen my learning about Flexbox, I played a game called Flexbox Zombies. I decided on a monochrome colour scheme in order to highlight the colours in the images of each project.
The aims for this project were to:
- Have a section or card for each project
- Each card should have a title, an image of my project, and a description
- Use flexbox to arrange the cards on the page
- Resize cards based on screen width
- Adapt the layout of the gallery when the browser window resizes
- Display the cards in a single column on mobile devices
- Have a clickable button on each card that opens and closes the description text
Comment Box
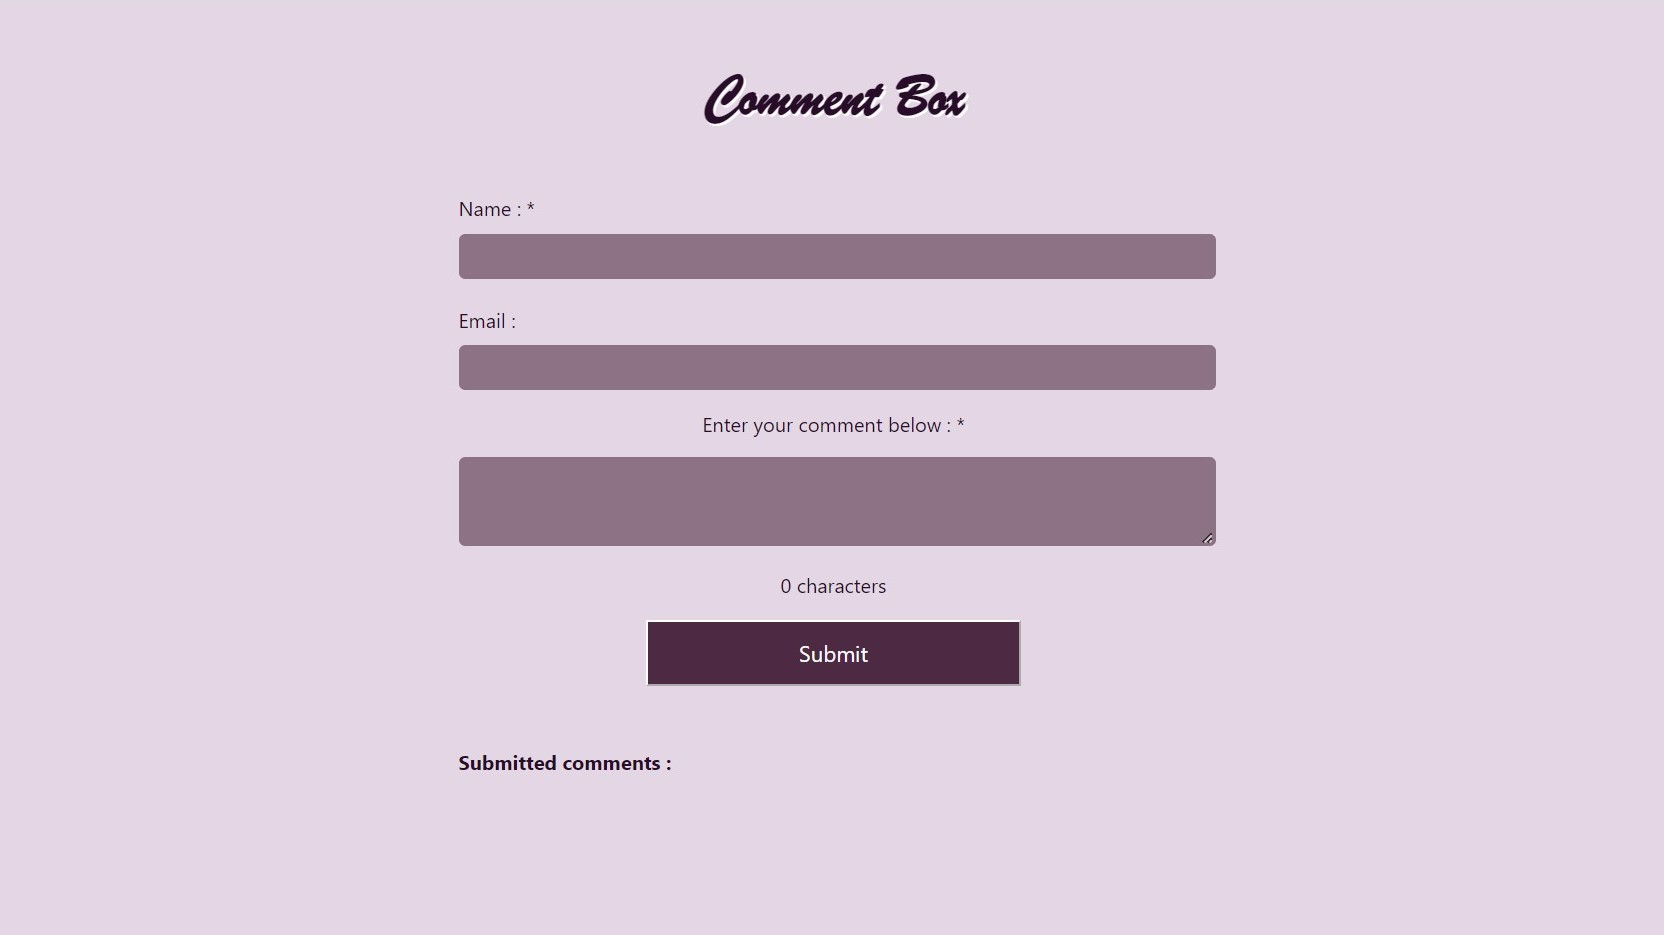
The Comment Box project was my first project to require JavaScript for its core functionality. My task was to create a form in HTML into which users can submit comments, along with their name and email address. The submitted comments needed to be displayed on the page using DOM manipulation. The comment box also needed a 140 character limit, a counter to keep track of how many characters had been entered and manipulation of CSS styles if the user's input went over the character limit e.g. the comment box border became red.
On submission, each form value is collected as a variable. To allow the user to submit additional comments, while previous comments remain visible, I chose to collate each name / email / comment group into a single value into an array that stores all of the comments for that session, using DOM manipulation to display each name / email / comment group from the array at the bottom of the page. I learned how to use JavaScript functions, if/else conditional statements and the .length method to check and respond to the comment box's character count.
Movie Data
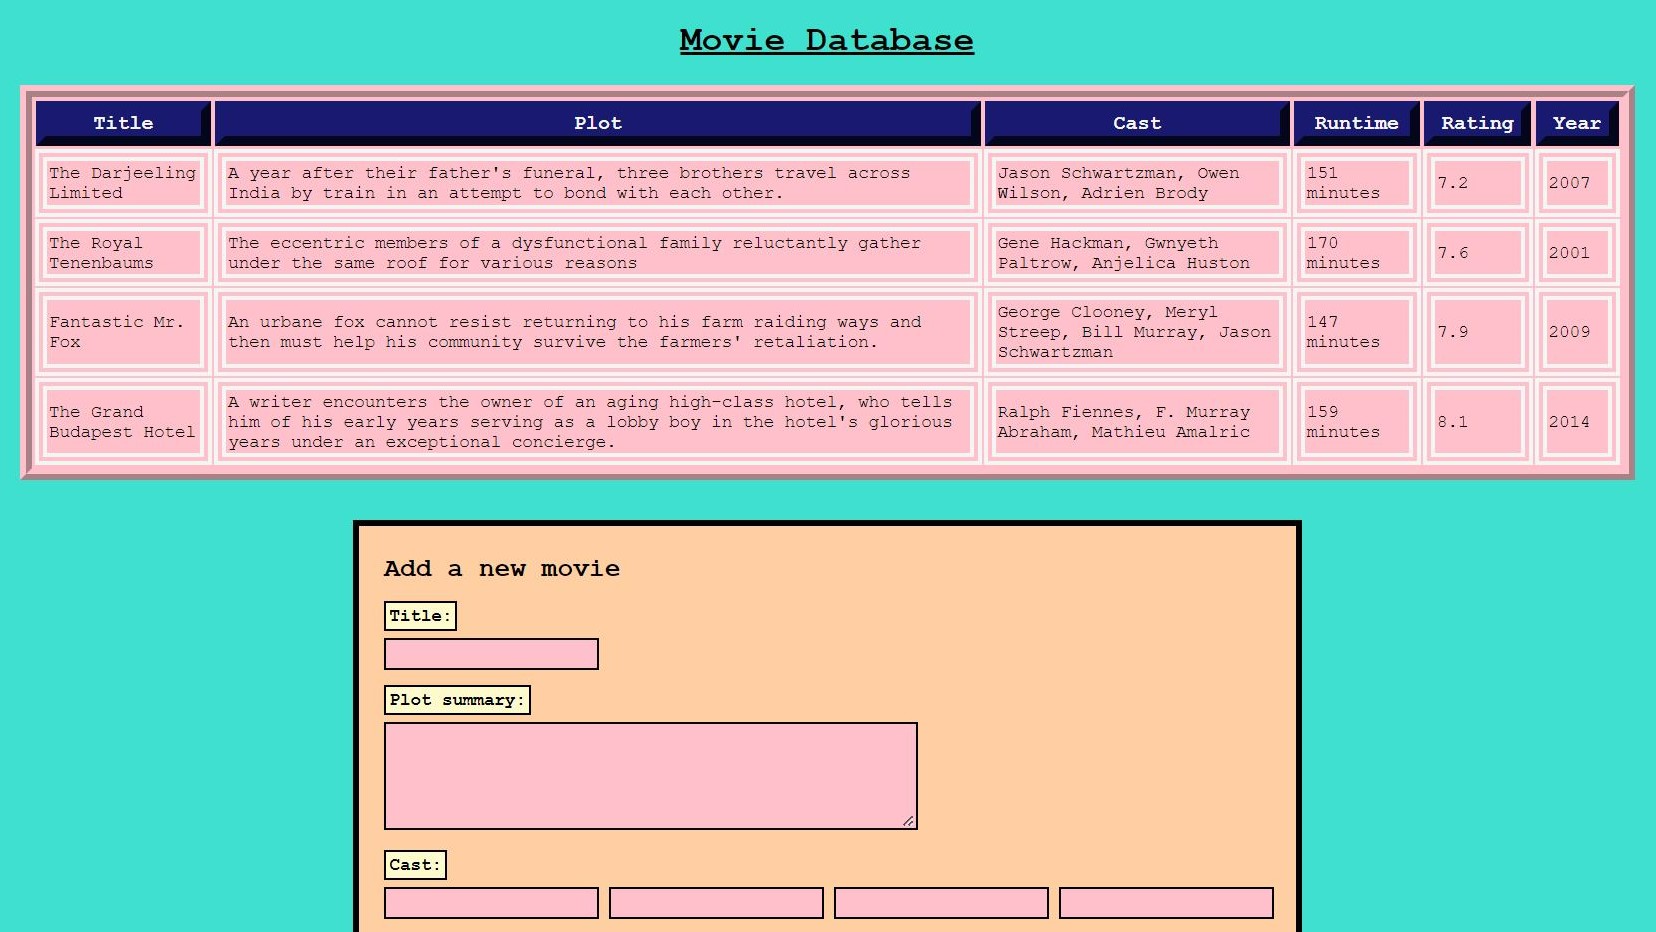
For this project, I built a user interface, using HTML, and populated it with data from a JavaScript object movieData. This object contains four films, which are keys in the movieData object (e.g. “The Darjeeling Limited”). Each of these keys relates to a value with more detail about that particular movie.
This project's requirements were to:
- Store the object below in a JavaScript file in your codebase
- Render the data onto the webpage with DOM Manipulation
- Allow the user to affect the display of the data by interacting with the webpage
- Allow the user to update the data stored in the object by interacting with the webpage
I broke down this project into steps. First, I extracted the data from the JavaScript object and rendered it into a table using DOM manipulation. I chose to display the data in a table as this would allow the user to easily manipulate the data. Next, I added a form for the user to add additional films to the database, including checks to ensure that the data was in the correct format. Finally, I added a sorting function to allow the user to sort the table's data by title, plot, cast, runtime, rating or year. With more time, I would like to return to this project and add additional functionality to allow the user to edit or delete data entries.
Noting that the four movies in movieData were directed by Wes Anderson, I styled the page in line with the distinctive aesthetic of his films e.g. the table reflects the design of the titular building of 'The Grand Budapest Hotel'. I chose Courier font throughout the page as this is industry-standard font for screenplays.
Website
For this project, I created a personal website to showcase my application and the progress I have made. The visual design of this project was especially important to me and I looked at examples of similar portfolio websites for inspiration. I used CSS grid layout for the first time and @keyframes animations on my links buttons to make the website feel more dynamic. For my JavaScript feature, I added buttons to increase/decrease the font sizes across the page, which could provide greater accessibility to some users. I used an inline frame element to embed my feature within the page.
Feature
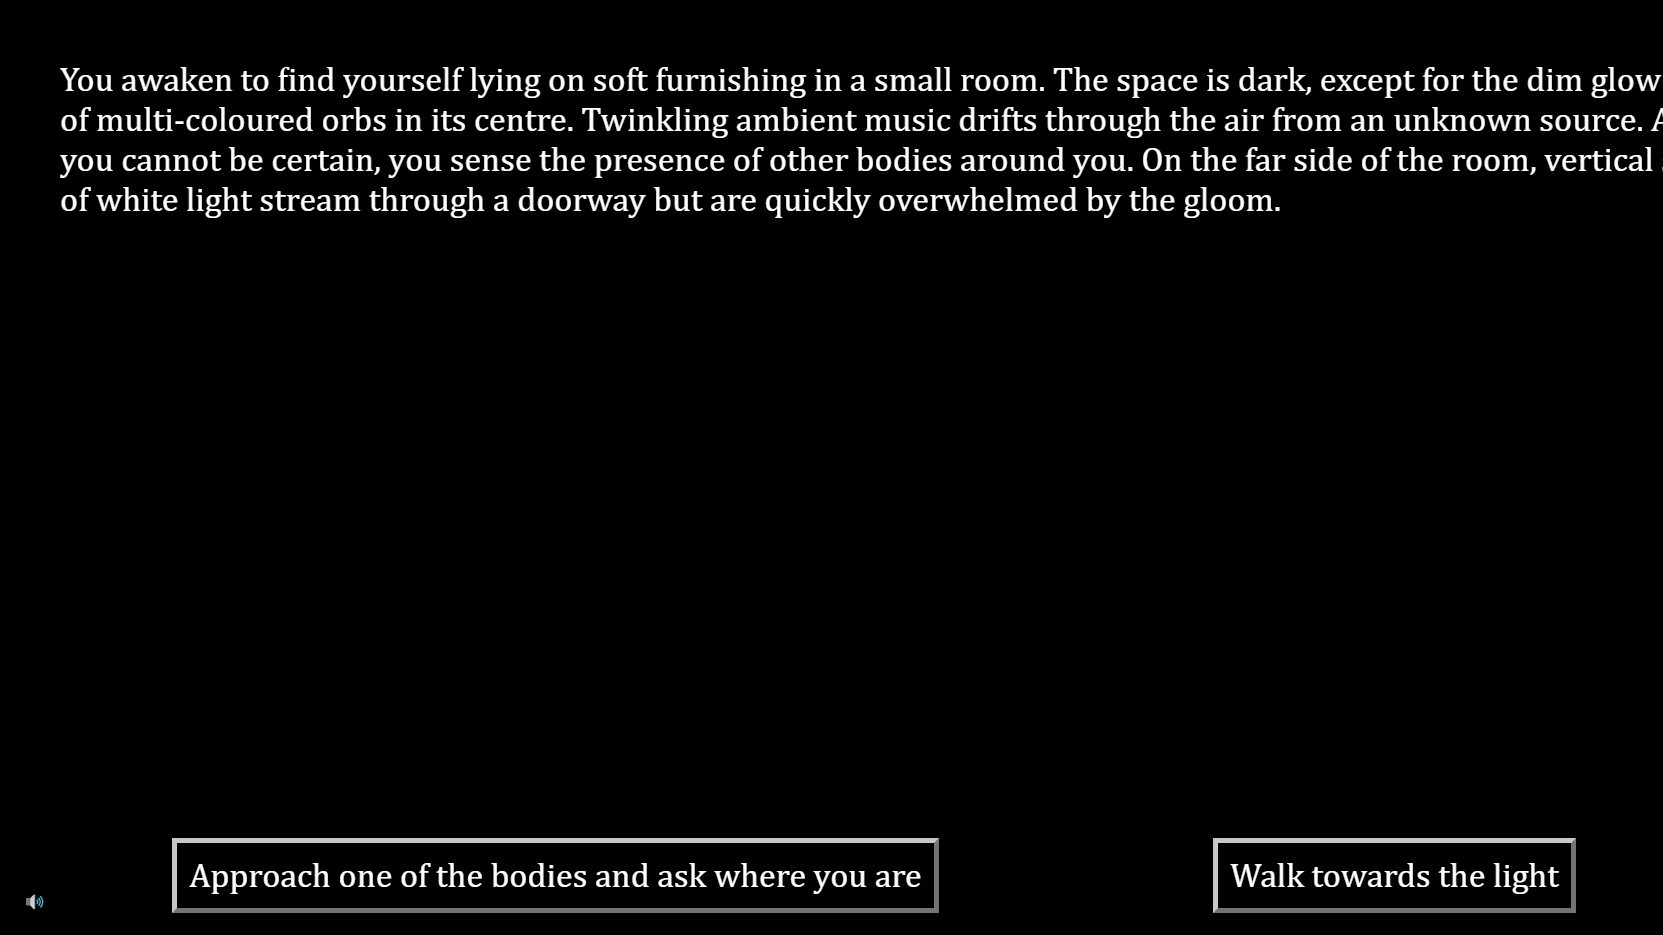
My feature is a narrative and audio based choose-your-own-adventure-style game inspired by 2019 RPG Disco Elysium.
I have a long-standing interest in game design, probably more than I do in playing games! As I was learning about JavaScript, I found myself drawn to its potential applications in designing games.
BLACKOUT is the culmination of my initial explorations. Some of my new learning for this project included:
- setInterval and setTimeout to delay Javascript events e.g. making text appear letter by letter
- mousemove and touchmove event listeners to track cursor movement, used for the 'torch' effect on the welcome menu
- Addition of audio using the HTML audio element, with audio source and playback controlled by JavaScript
I also consolidated my previous learning by using:
- Math.floor and Math.random to create a random name generator
- JavaScript objects to store each scenario's key information
- Extensive DOM manipulation to display each scenario's text, buttons and audio
- Arrays to track the player's progress and store important information
With more time, I would like to add more visual elements to the game and greater interactivity, for example allowing the player to create a character class whose chosen skills and statistics affect the outcomes of scenarios.